Authorization template
How to authorize and use your own Notion template
Authorization template
You can authorize your own Notion template so that clips and highlights are saved into the pages or databases you choose.
First‑time authorization
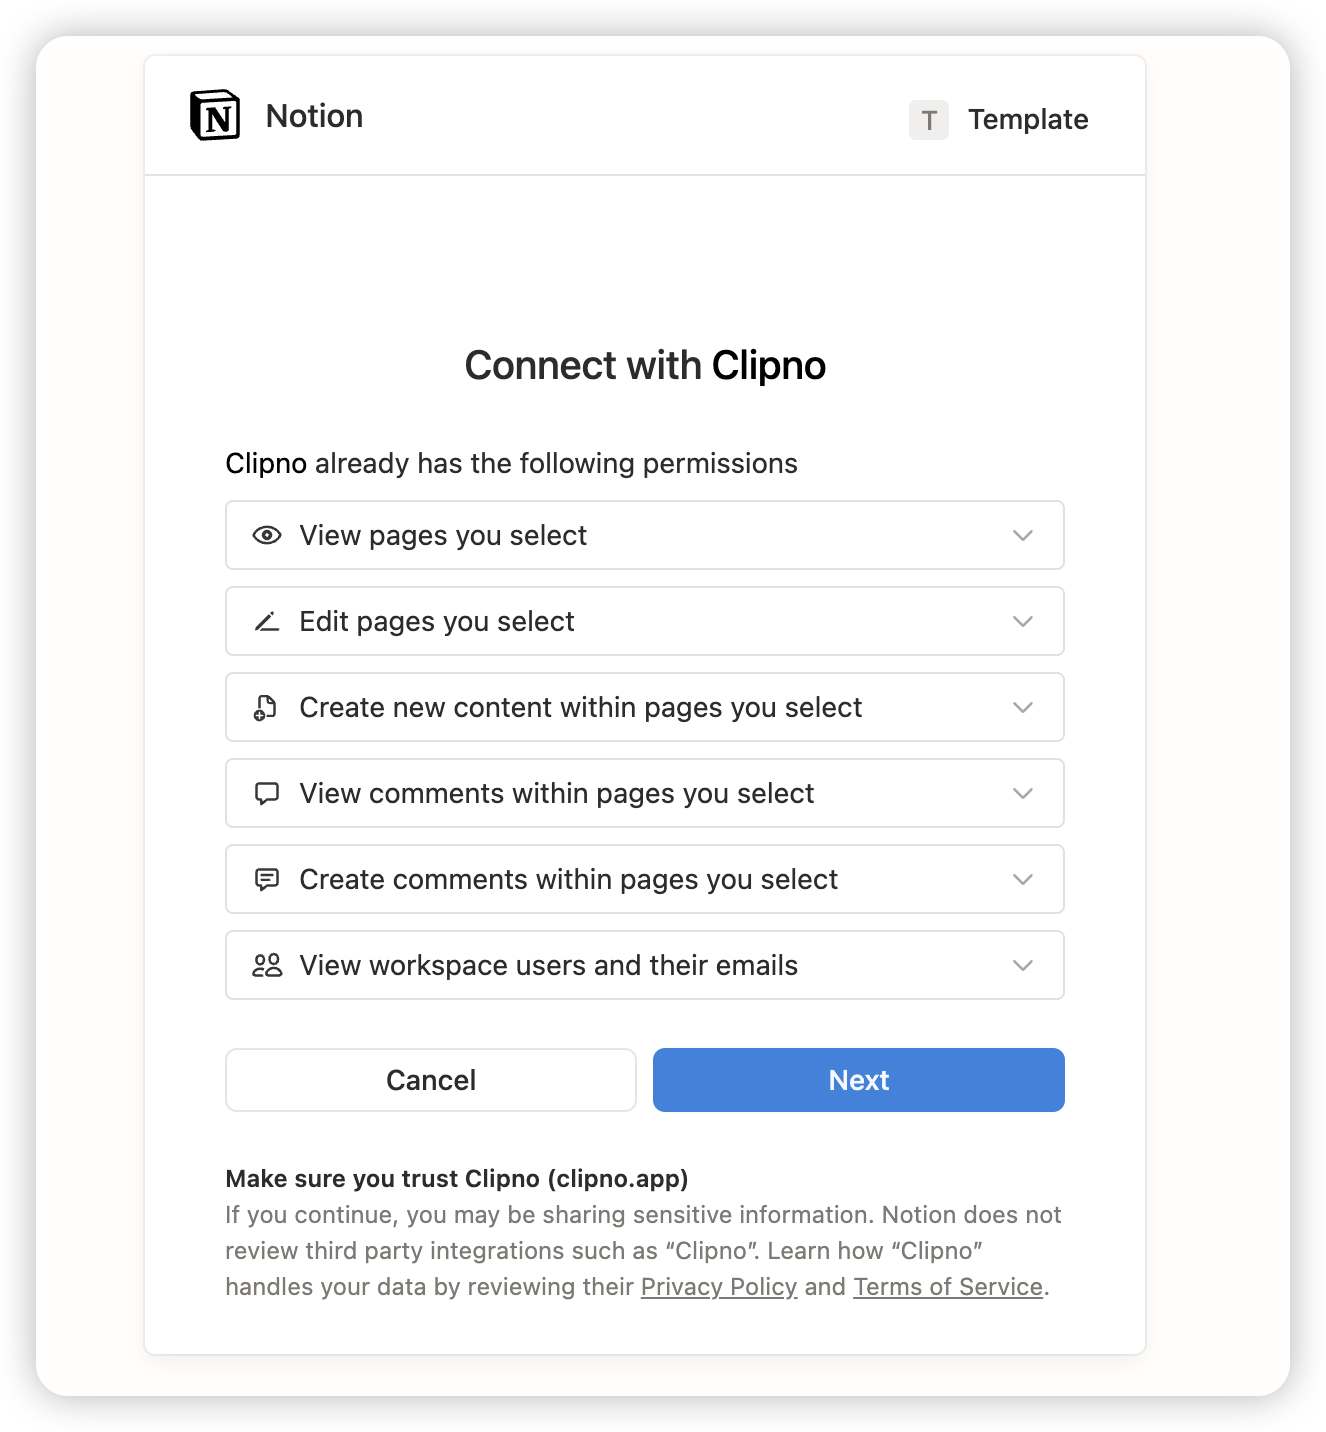
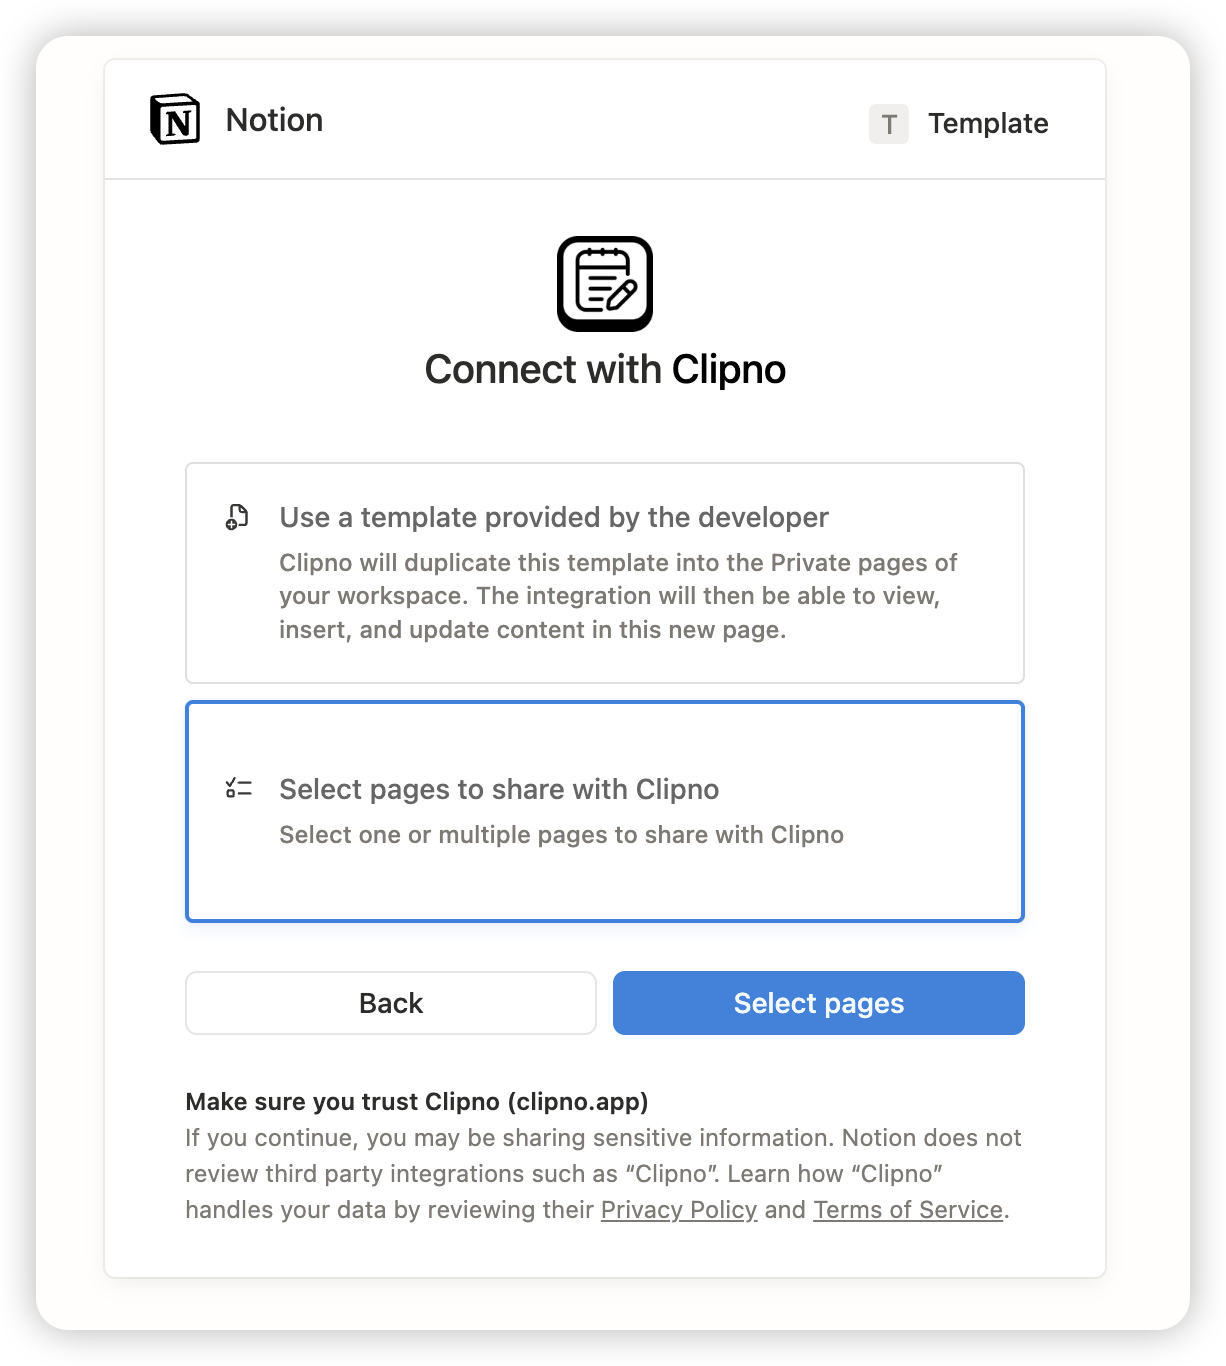
After logging into the extension, click Notion authorization → Next. On the authorization page, choose “Select your page” to use your own template.
On the next screen, select “Select your page”.
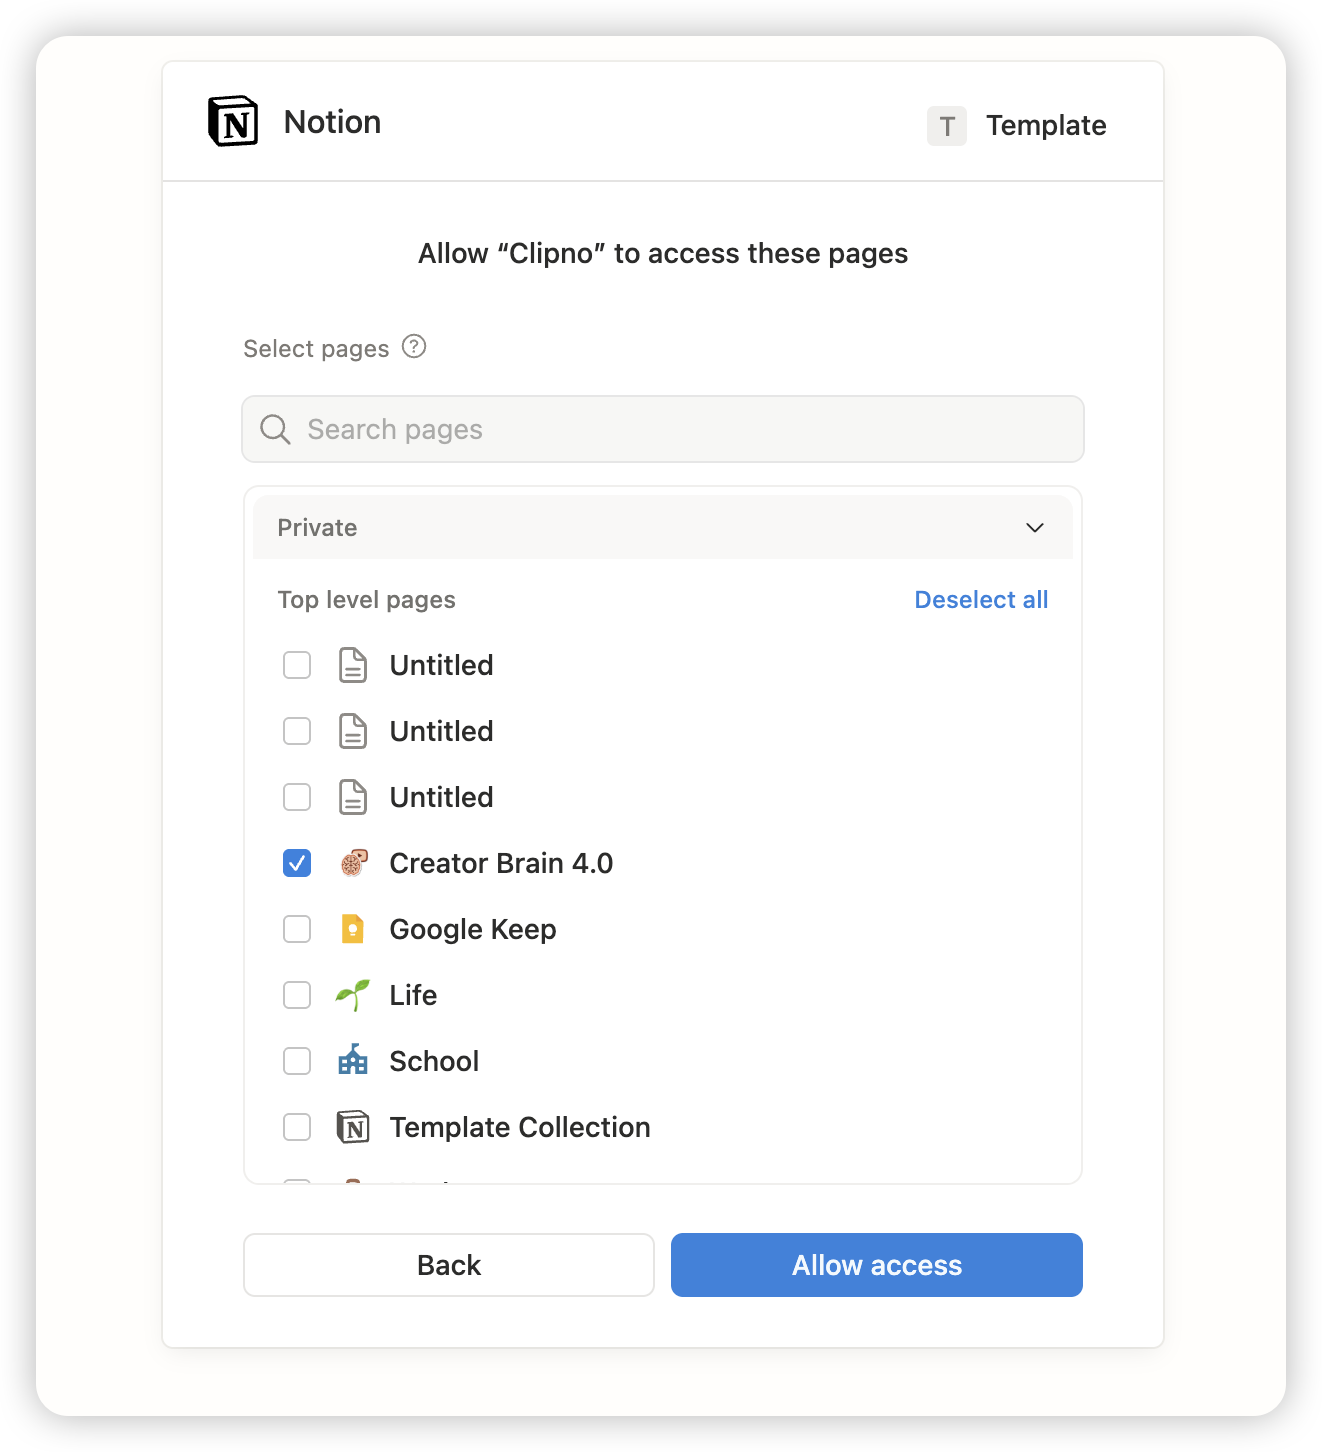
Tip: Put your template (or the database you save to) under a top‑level page in the Notion sidebar, and make sure the template already contains the resource database you want to use. This makes it much easier to find and select from Clipno.
Note: When you use your own template, highlights and notes will only appear inside the Page view of the resource database.
Configure template properties
After authorization, you need to tell Clipno which database and fields to use for clipping.
- Choose the resource database: in your template, select the Notion database where clipped content should be stored (the “resource” database).
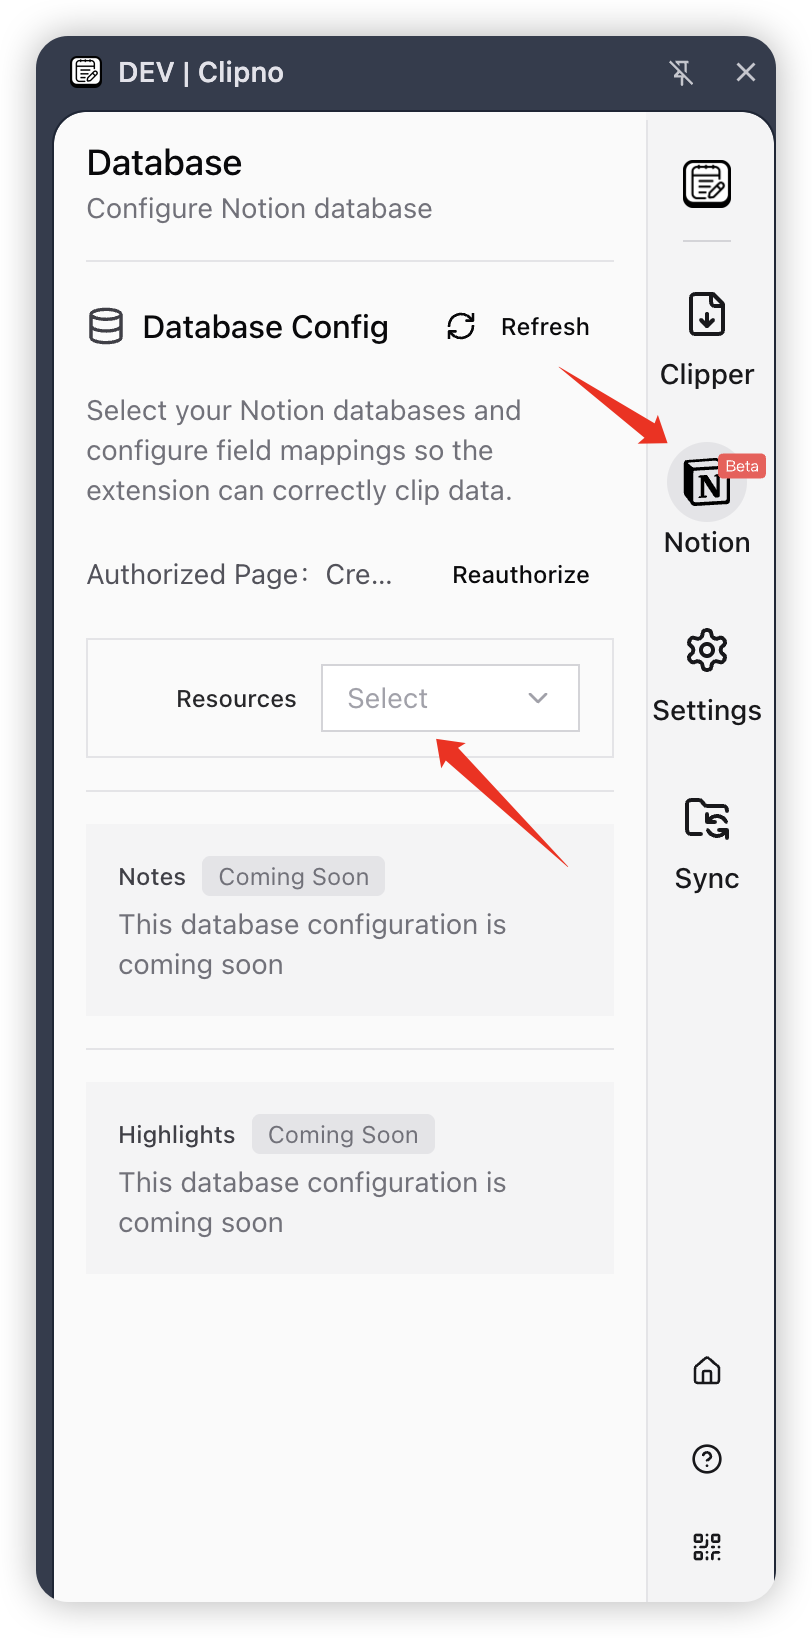
- Map fields: map properties in the database to the data from each clip. Title and Author are required; other fields (such as link, summary, etc.) are optional.


When you’re done, go back to the Clipper menu and start clipping.
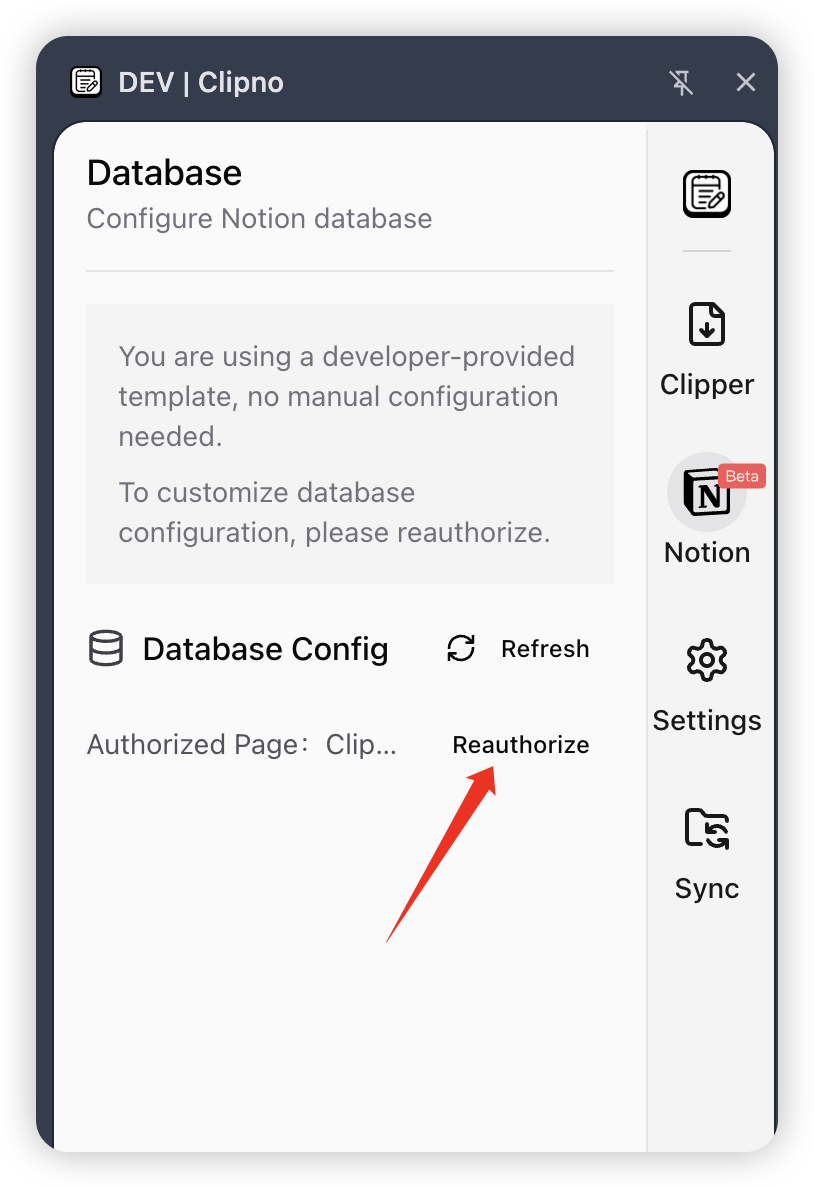
Change the authorized template
In the extension sidebar, open the Notion menu and click Reauthorize to switch templates. You can choose either the developer‑provided template or your own template again.